It's nearly time for Thanksgiving! For me, in addition to celebrating with loved ones, its a time of the year to reflect on all of the wonderful things that have happened and to give thanks for all the experiences I've had and for the amazing people I am blessed to have in my life.
When I started designing fabric in 2008, I had no idea where my path would take me. And that felt uncertain and scary. As someone who has always followed a plan, jumping in and just seeing what path I could create was a real struggle. It was hard to just let go a bit and see what would happen. Since I began licensing some of my designs to Robert Kaufman in 2009, I have been fortunate enough to license 19 collections between 2010 and 2013. Absolutely blows my mind when I think about it. I still can't really believe I've been given that opportunity.

I still earn a lion's share of my income from marketing consulting (which is my professional background) but fabric design continues to be a wonderful creative outlet for me that I'm incredibly thankful for. I wasn't quite as prolific with my designs this last year but still worked on new collections whenever my creative juices started flowing and kept submitting designs for approval. Many were rejected (just the way the cookie crumbles). But I'm delighted to share that one collection that's very special to me was accepted and Robert Kaufman plans on releasing it in April '15. (YAY!!! I'll post sneak peeks early next year as things solidify.)
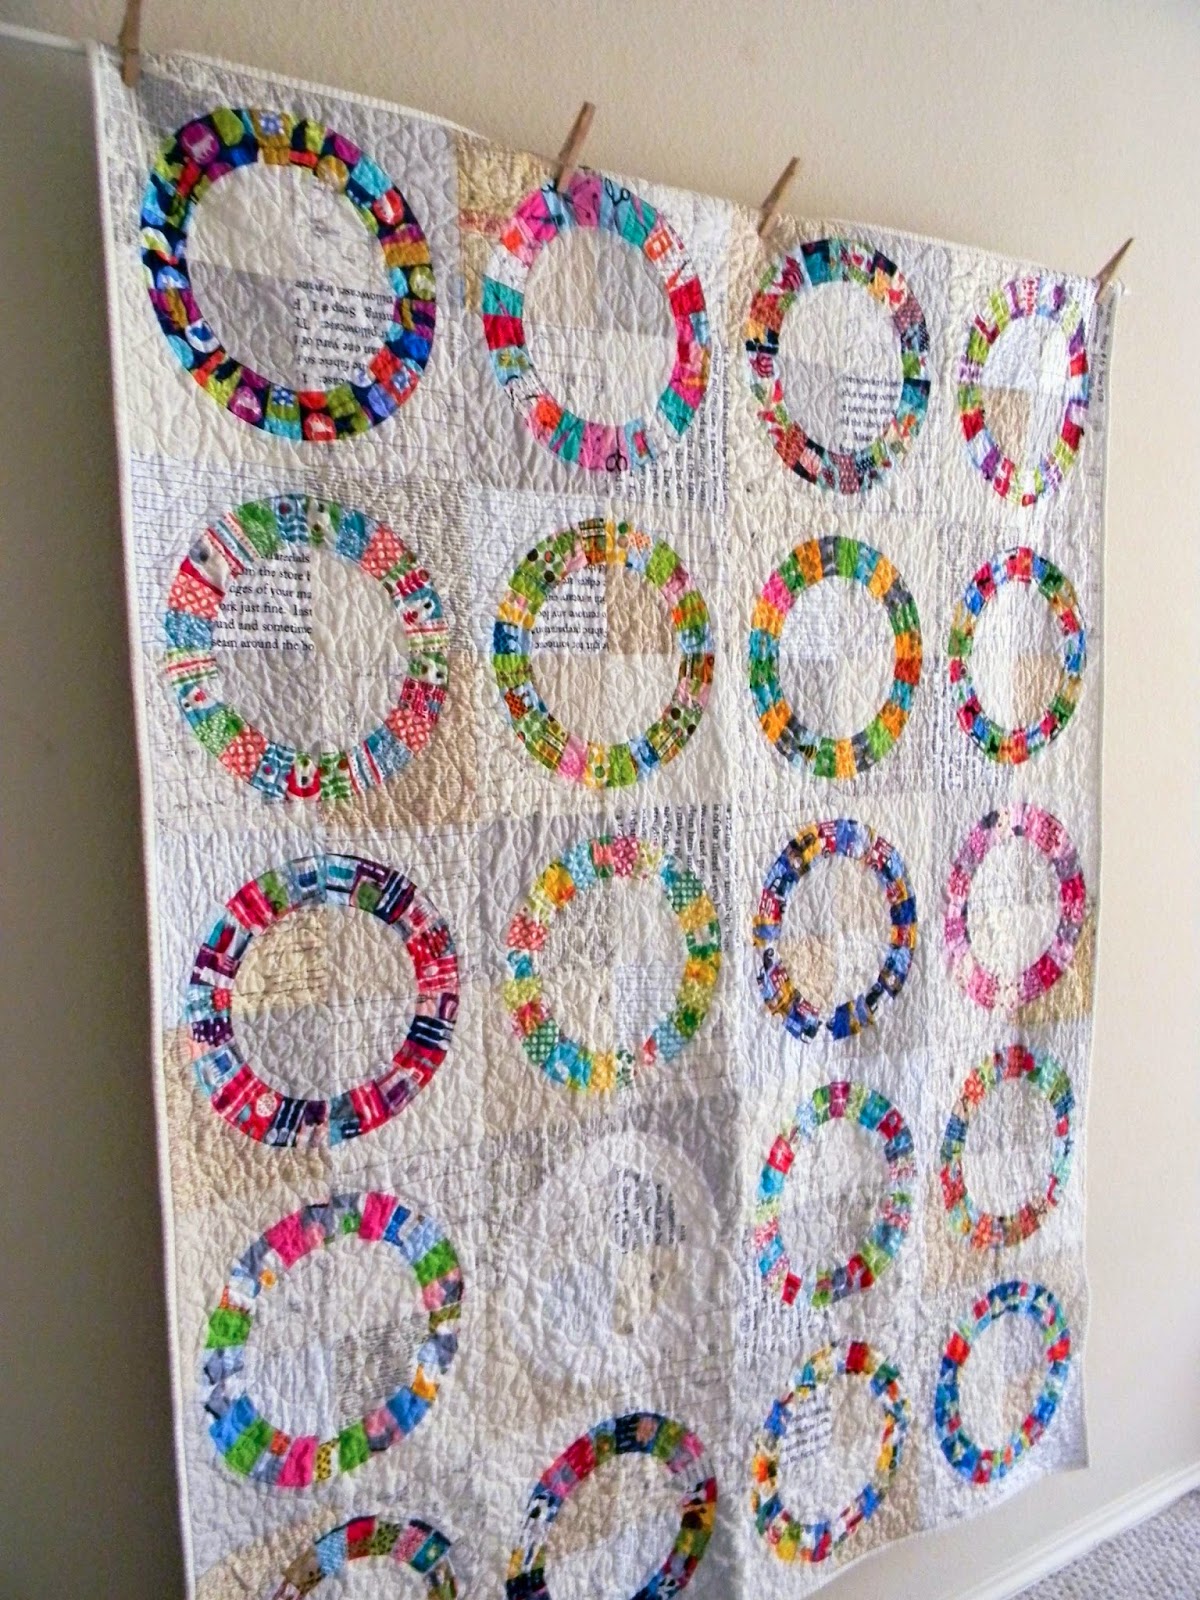
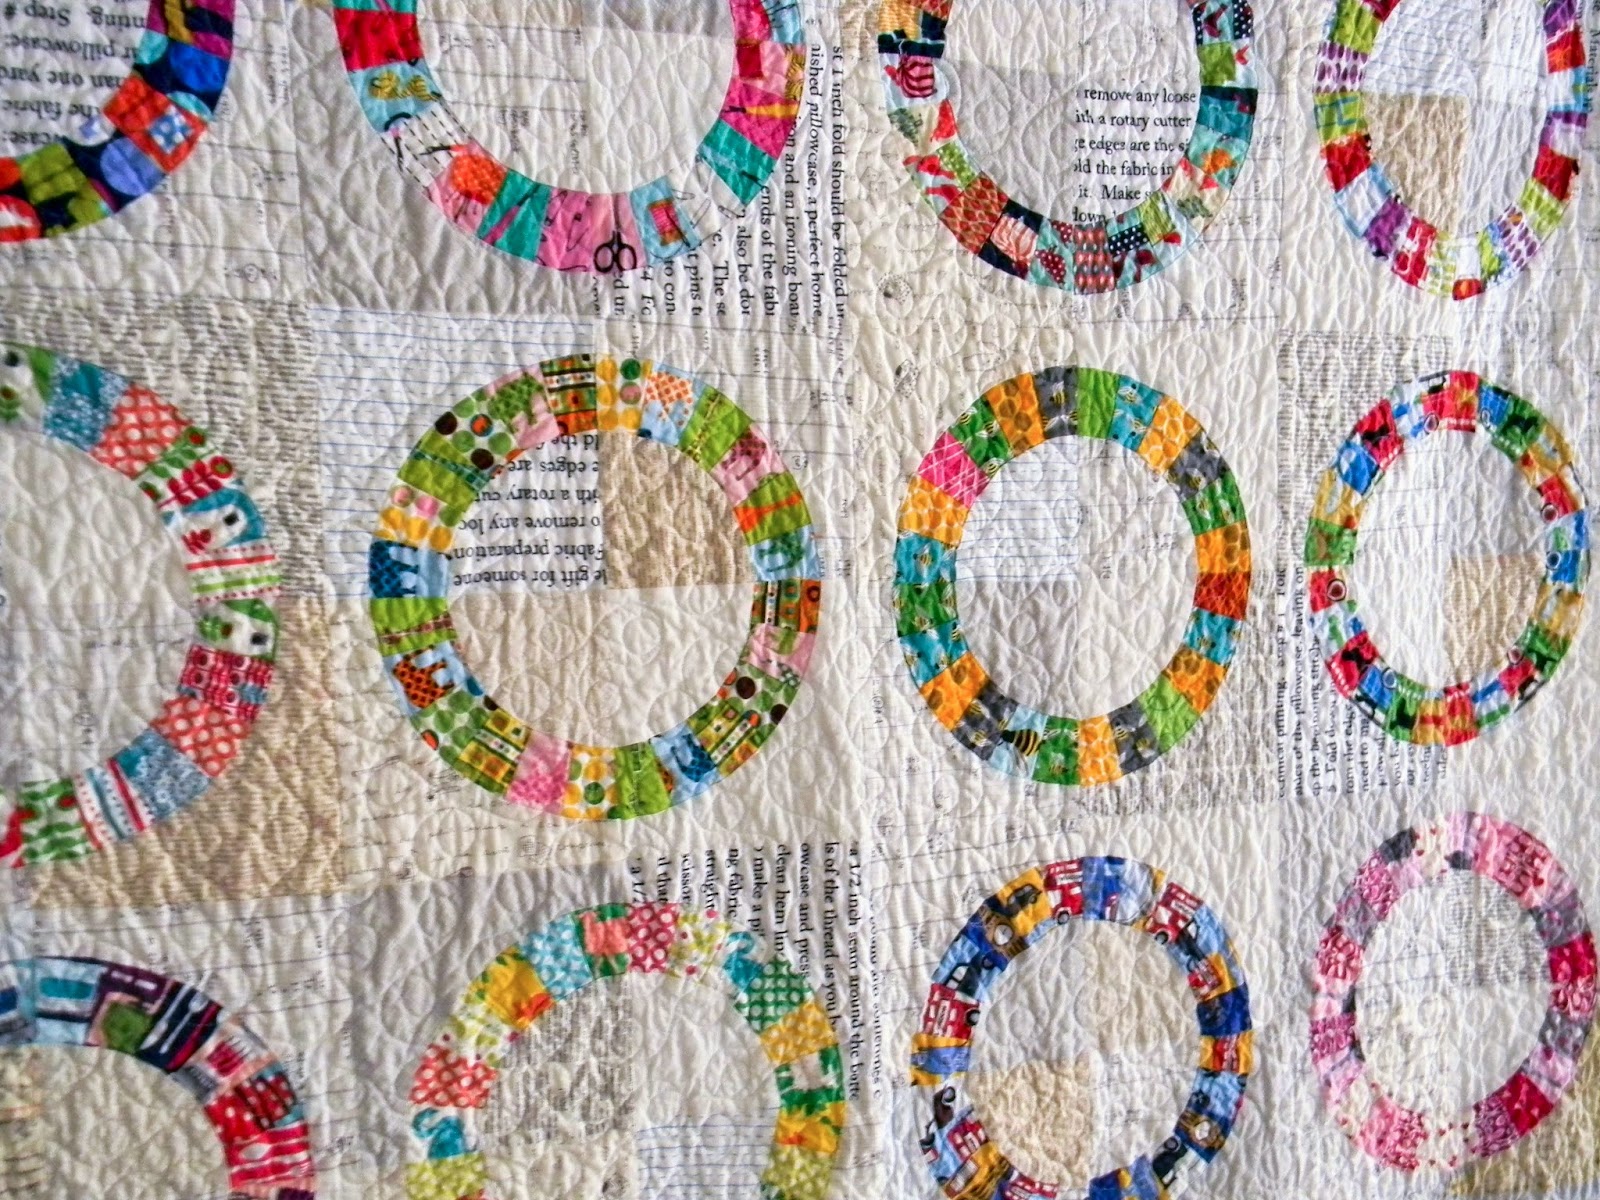
One of the things I wanted to do for myself to commemorate an amazing first few years in fabric design, was to make myself a quilt that featured every single one of the fabrics I designed for RK. After much hunting for the perfect pattern to use, I came across the
Ring Toss pattern by Sew Crafty Jess. Each of the 19 colored rings includes fabrics from one of my
collections. And the low volume prints around the rings are from other
favorite collections by other designers.
You'll notice that there's one ghost block with a white ring? I
decided that instead of waiting to make the quilt until my 20th
collection released, I would leave that one blank as a reminder to
myself that even in times of low creativity, that a blank canvas (or
computer screen in my case) doesn't have to be scary. It can simply be a
starting place for a new ideas and a placeholder to continue to inspire me to keep designing and keep dreaming.
I printed a special label (which I pieced into the back) and made a block with selvages from my collections.
I hope I didn't bore you to death with the loooong story about my quilt but I wanted to share it with you. :) Happiest of holidays everyone!
p.s. In other design news, you may remember the new panels I added to the store a while ago? Among the new
holiday pillow panels, I also released the Make it Sew (Star Trek inspired) designs. This morning I just added 2 new small panels to
the store. Perfectly sized to make zippered pouches or to frame in a 10" embroidery hoop.


